The problem with the walls
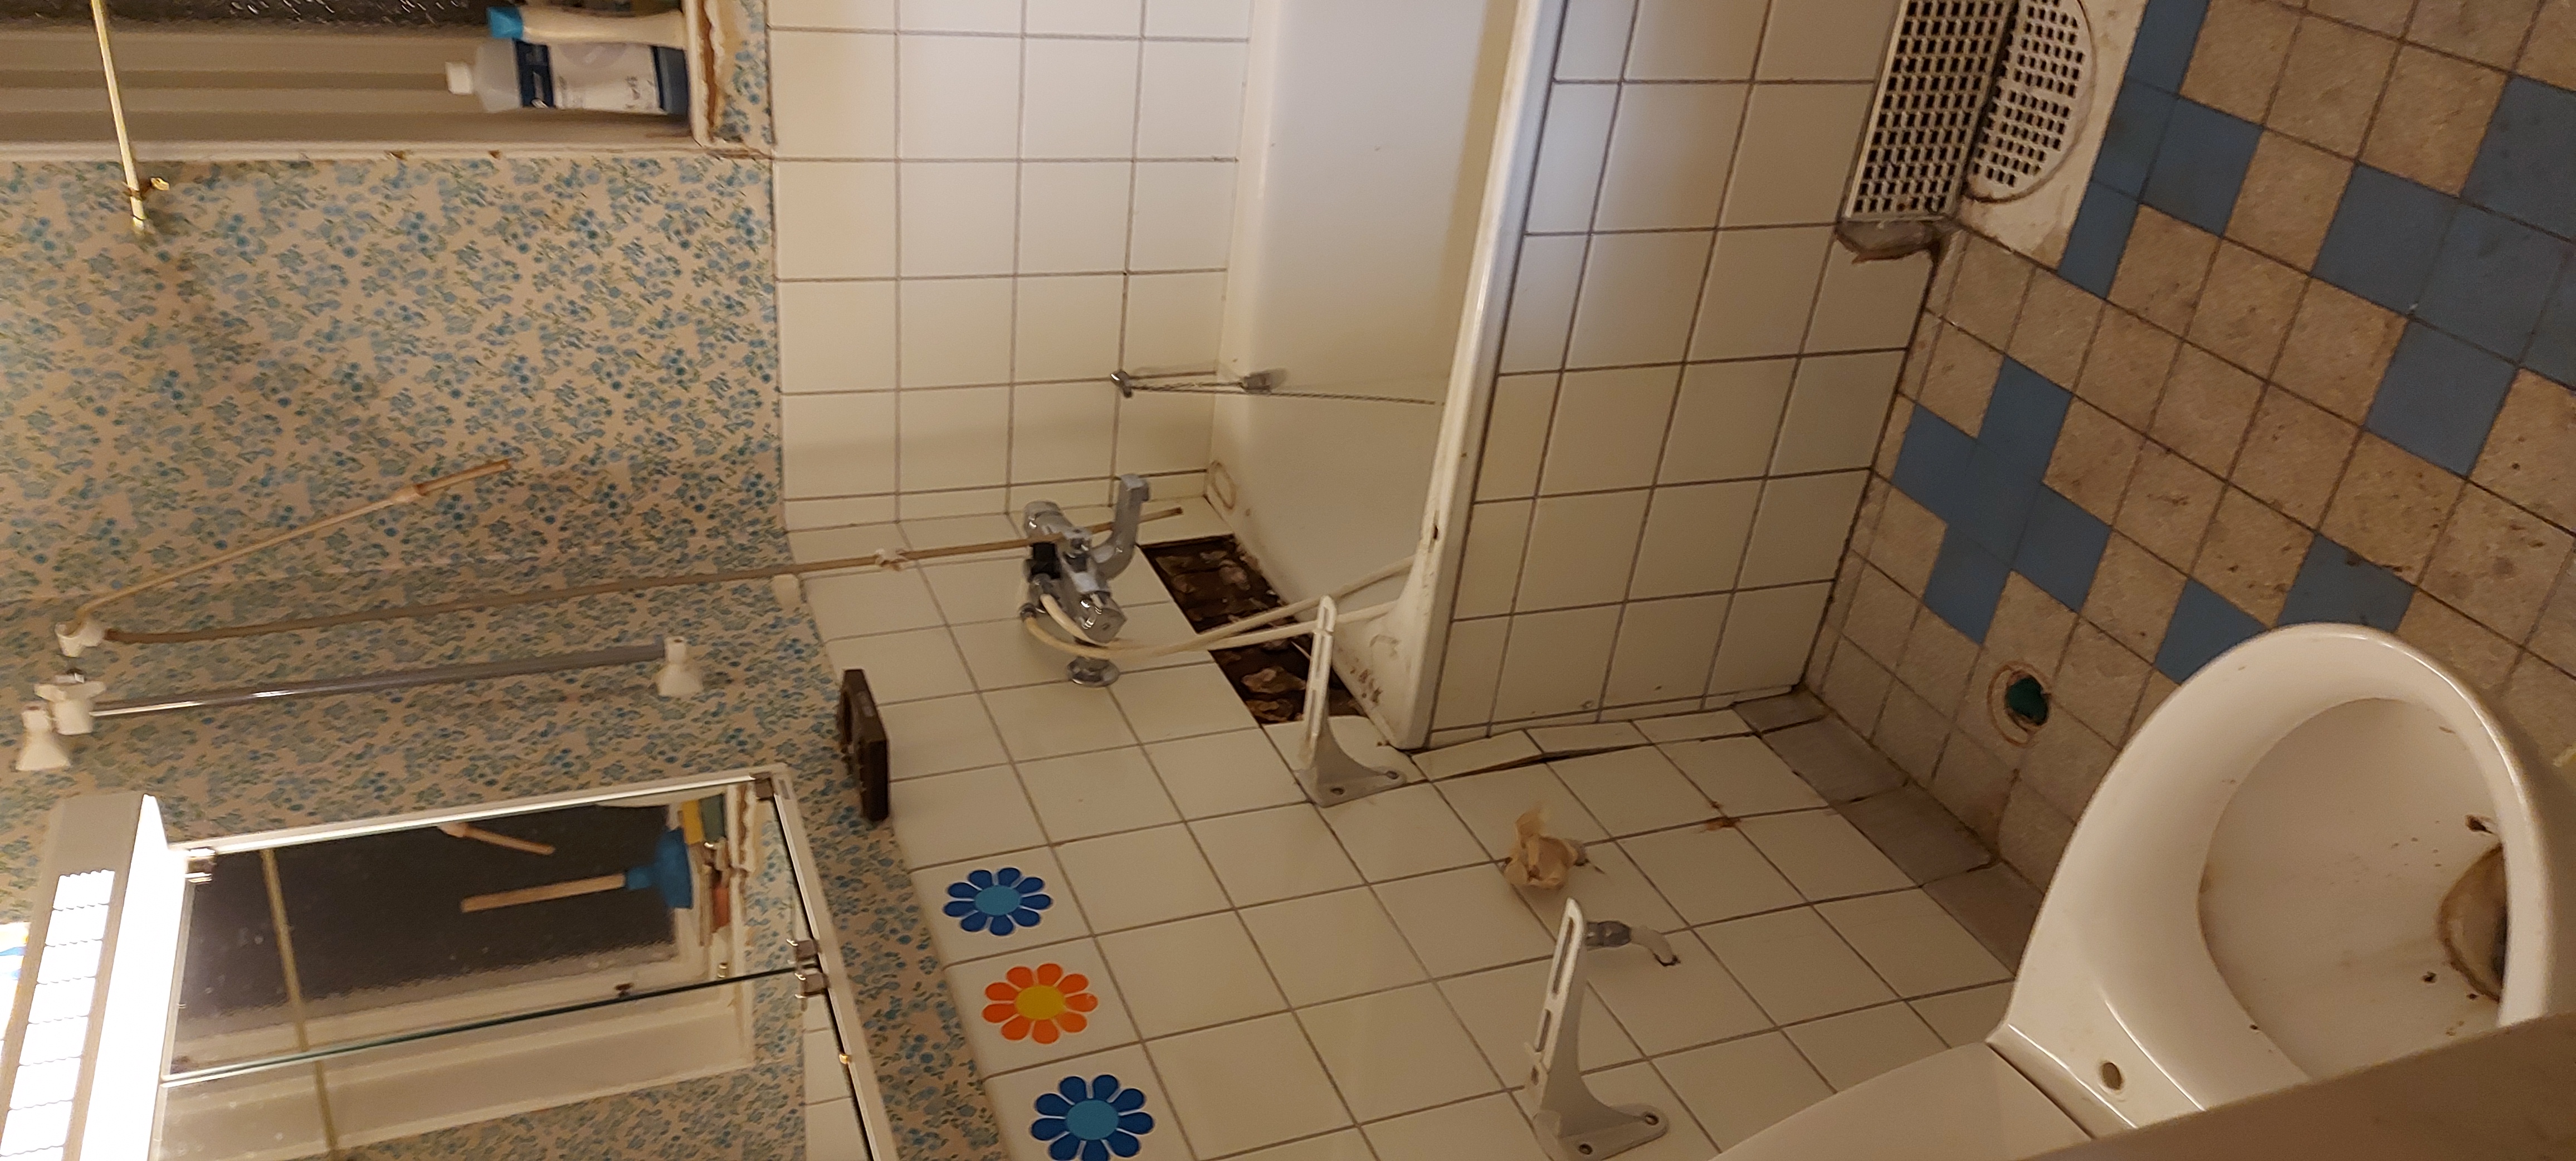
When we bought this house many of the tiles next to the bathtub were falling off. Here is the photo we took on the day we first looked at the house:
 Upon examination we discovered that when the house was built in 1956 the wallpaper above the tiles was placed directly on the Masonite of the walls, as were the tiles themselves. This probably wasn’t a problem the first few decades, as the first owners bathed in the bathtub.
But the owner directly before us modified the faucet to attach a shower head on a cable, and added a wall mount for it, without making any effort to waterproof anything. Of course, every time he showered, some of the water running down the walls soaked into the Masonite behind the tiles, loosening some of them.
We put the tiles back into place reasonably soon after buying the house. We then took care to shower sitting on the floor of the tub to keep from splashing water on the walls, for a couple of years.
Initial repairs and early improvements
- 2021-12-24 Keldor found the bathroom sink and a toilet seat in the cellar and installed them, so we could at least use the toilet and wash our hands while working on the house to clean it out enough to move in.
- 2022-01-29 scrape away mylonite and old grout from under loose tiles, turn up heat in the room so water in underlying wood dries before we replace tiles
- 2022-01-30 scrape away the rotted mylonite from the botto of the narrow missing band of tiles and replace with fresh myolinite, reattach the tiles that had fallen out and use the left over grout to fill in the gsps between the tiles that hadn’t fallen out
- 2022-04-23 install a new faucet in the bathroom sink so that we actually have both hot and cold running water in the sink!
- 2022-06-10 built and installed a screen window on hinges for the bathroom window, so we can open the bathroom window in the summer.
Major waterproof project log
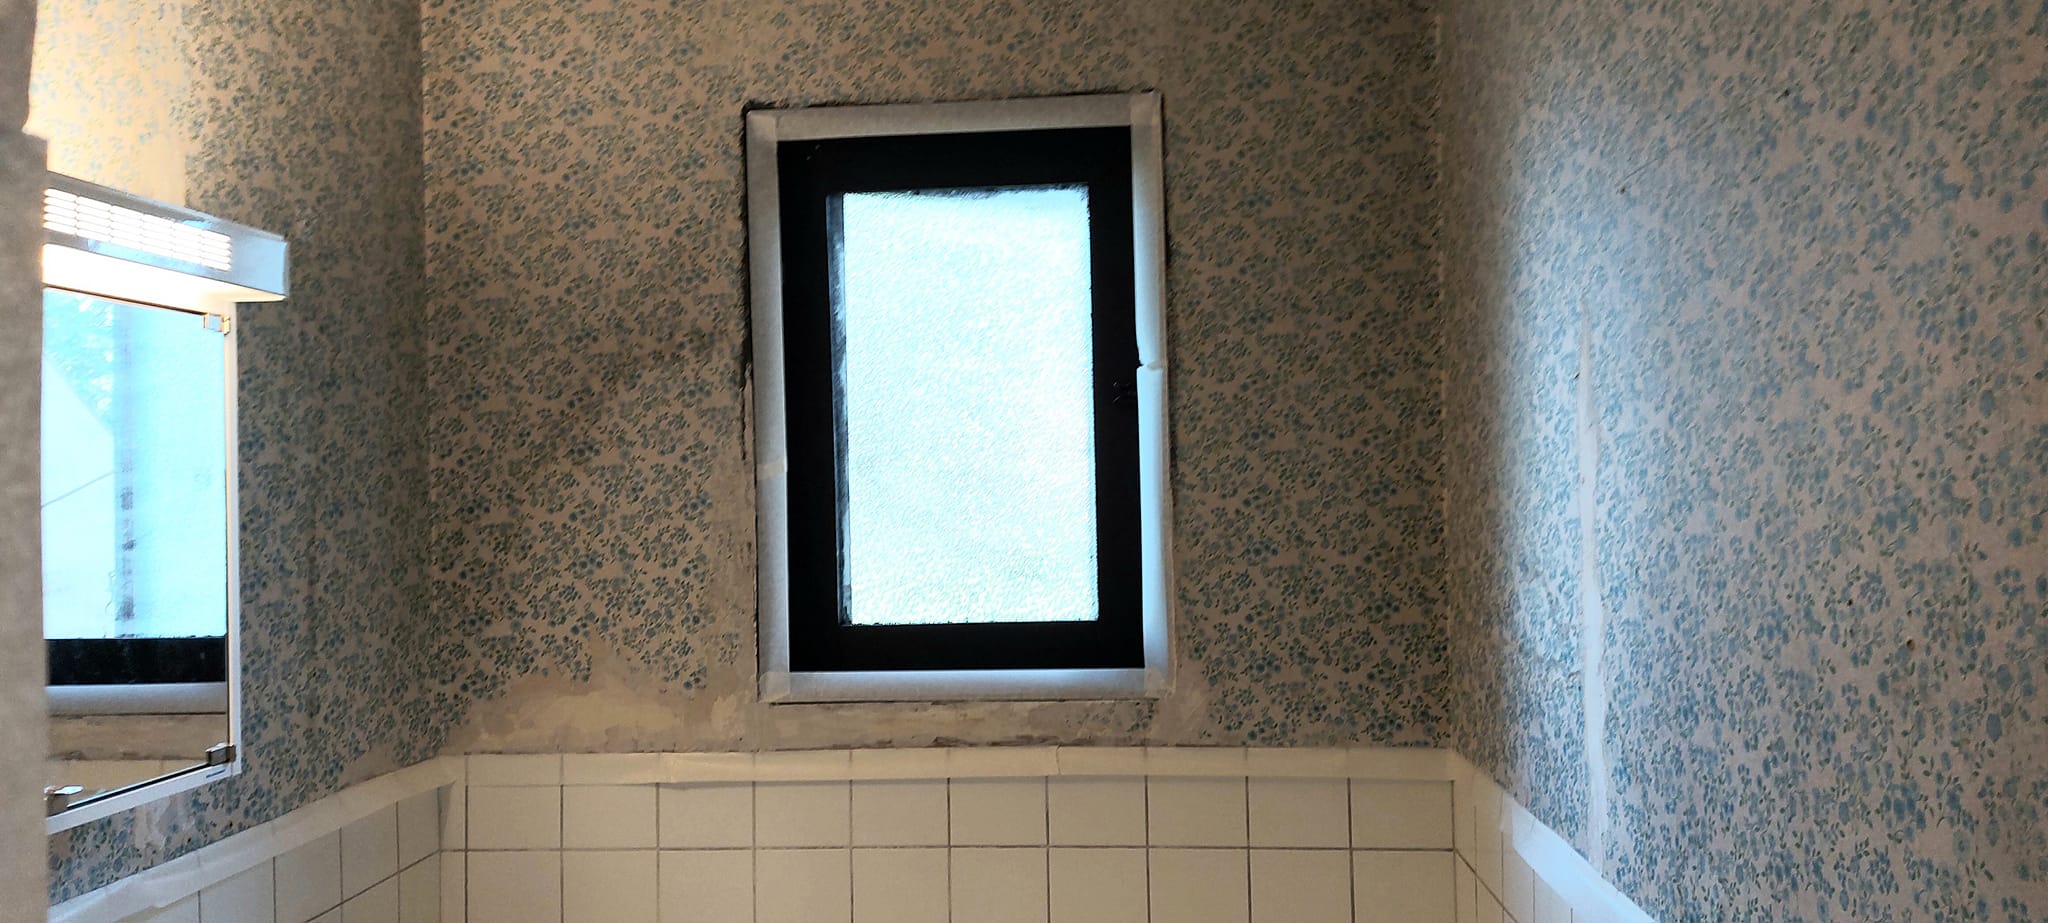
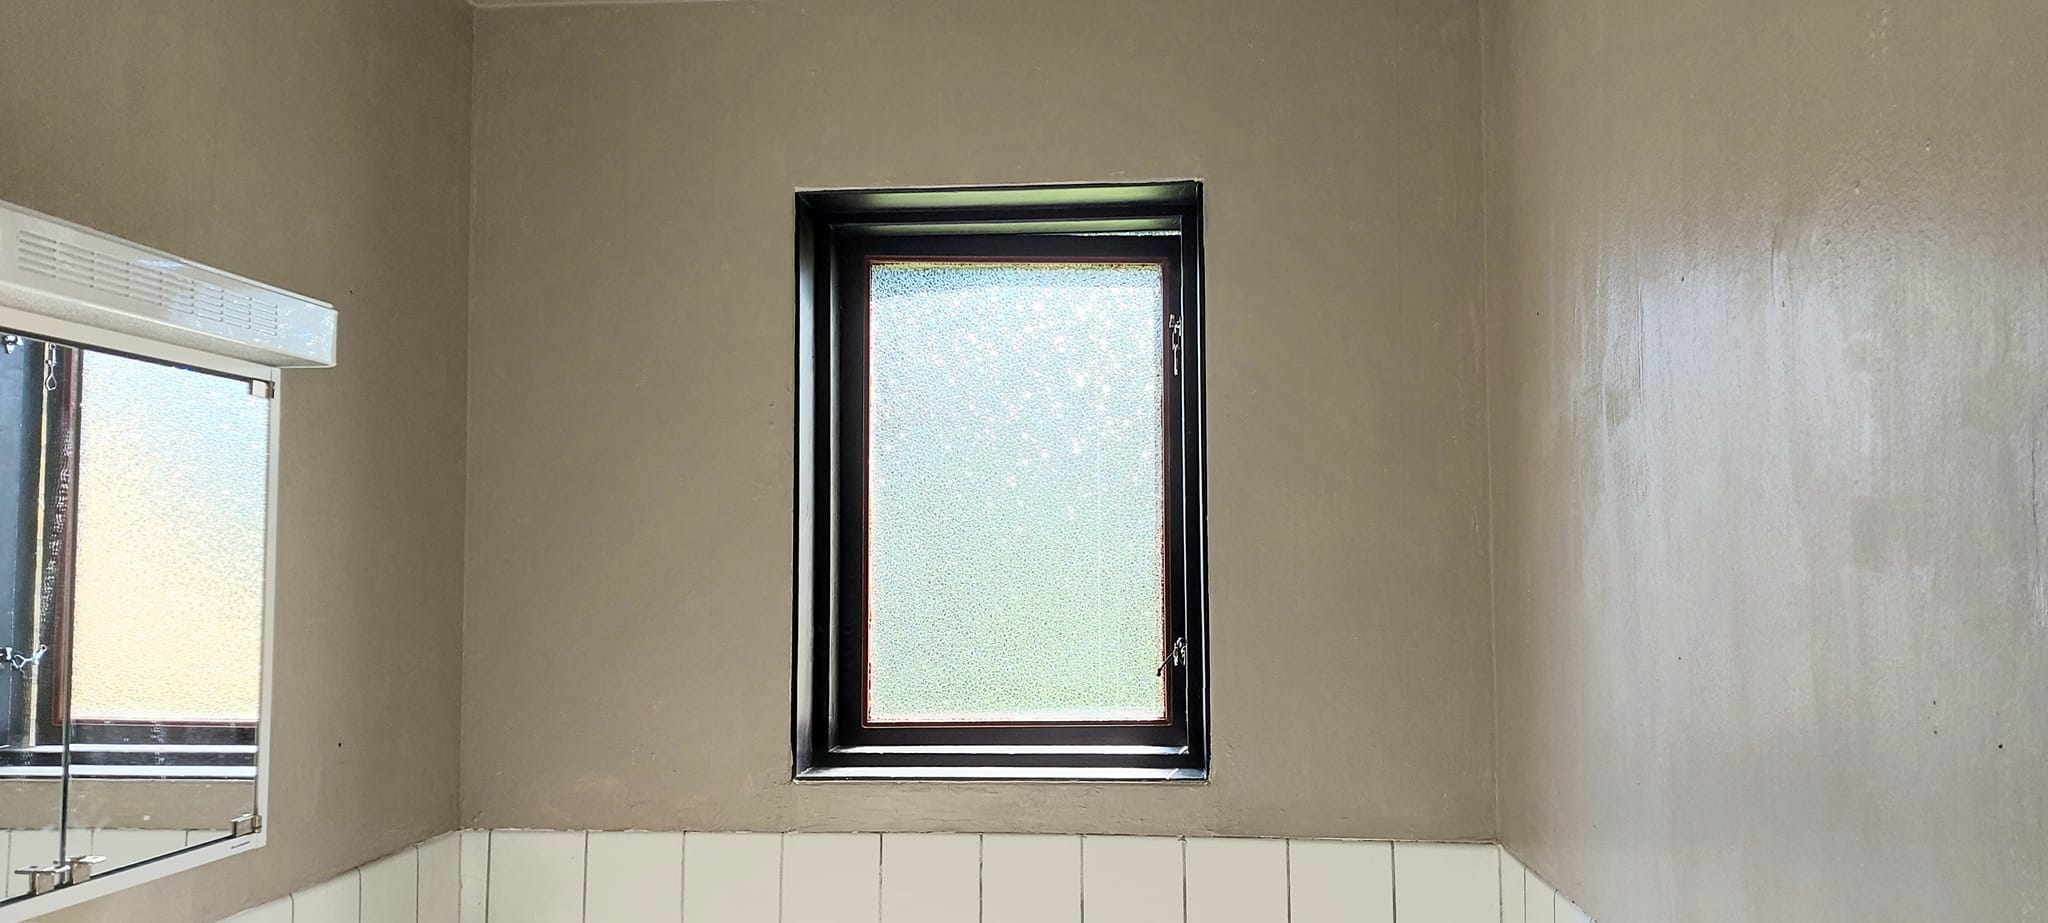
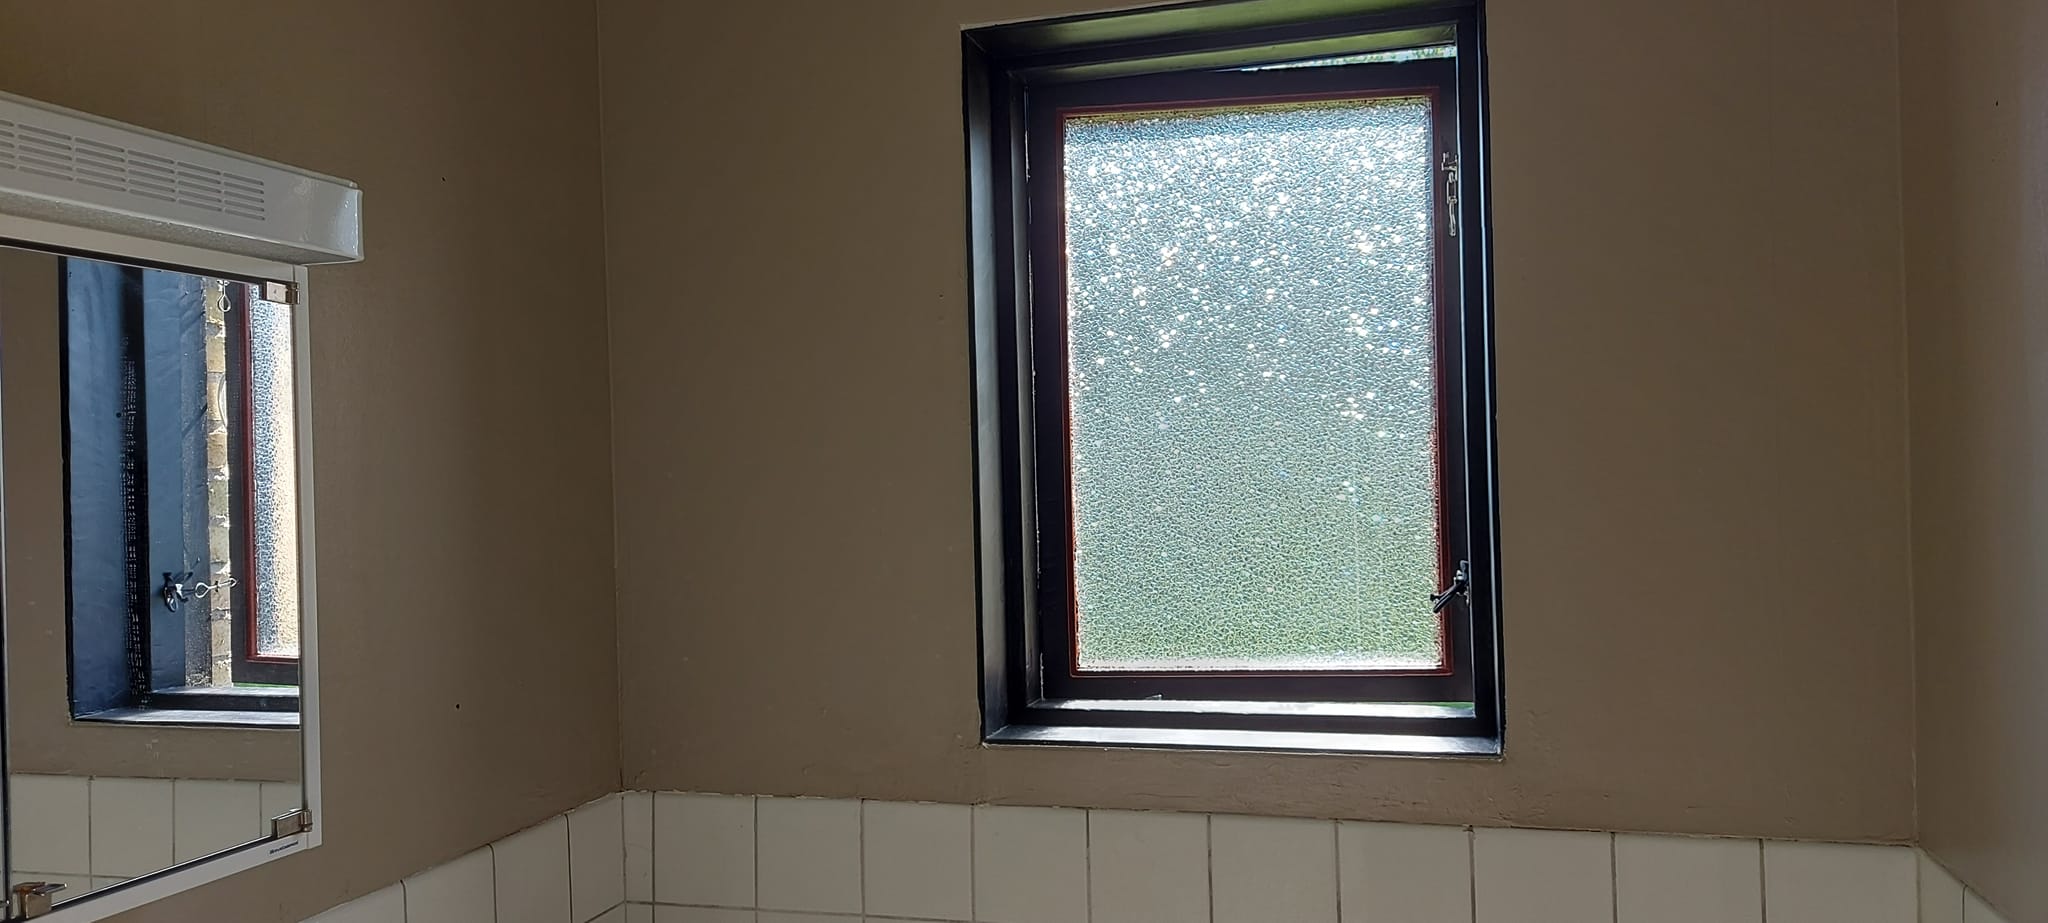
- 2024-07-07 picked up the paint that was left over from renovations of the toilet room at Keldor’s work. Peeled off the loose wallpaper in the bathroom, sanded, added spackel, and cleaned up the mess, ready to add “wet room paint” to the walls.
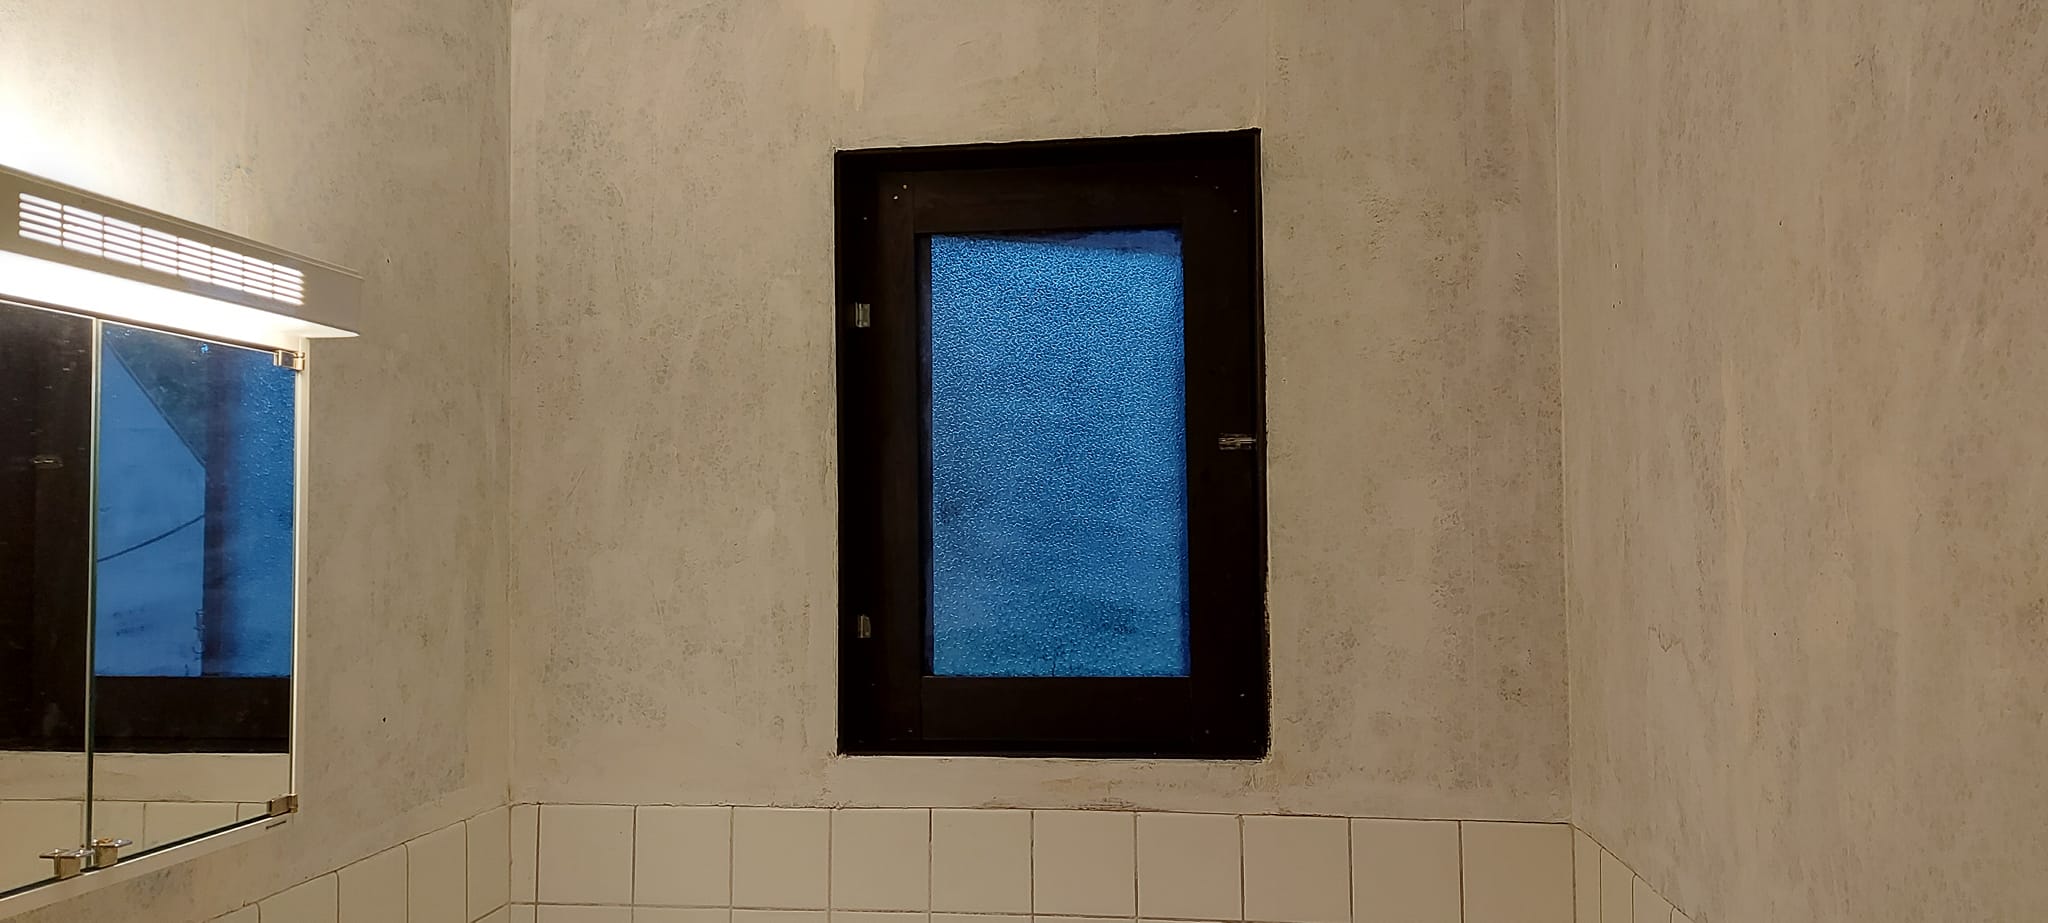
- 2024-08-05 I took “before” photos, showing how it looked after the little work mentioned for 2024-07-07, and then pained the wallpaper sealer layer over all the wallpaper
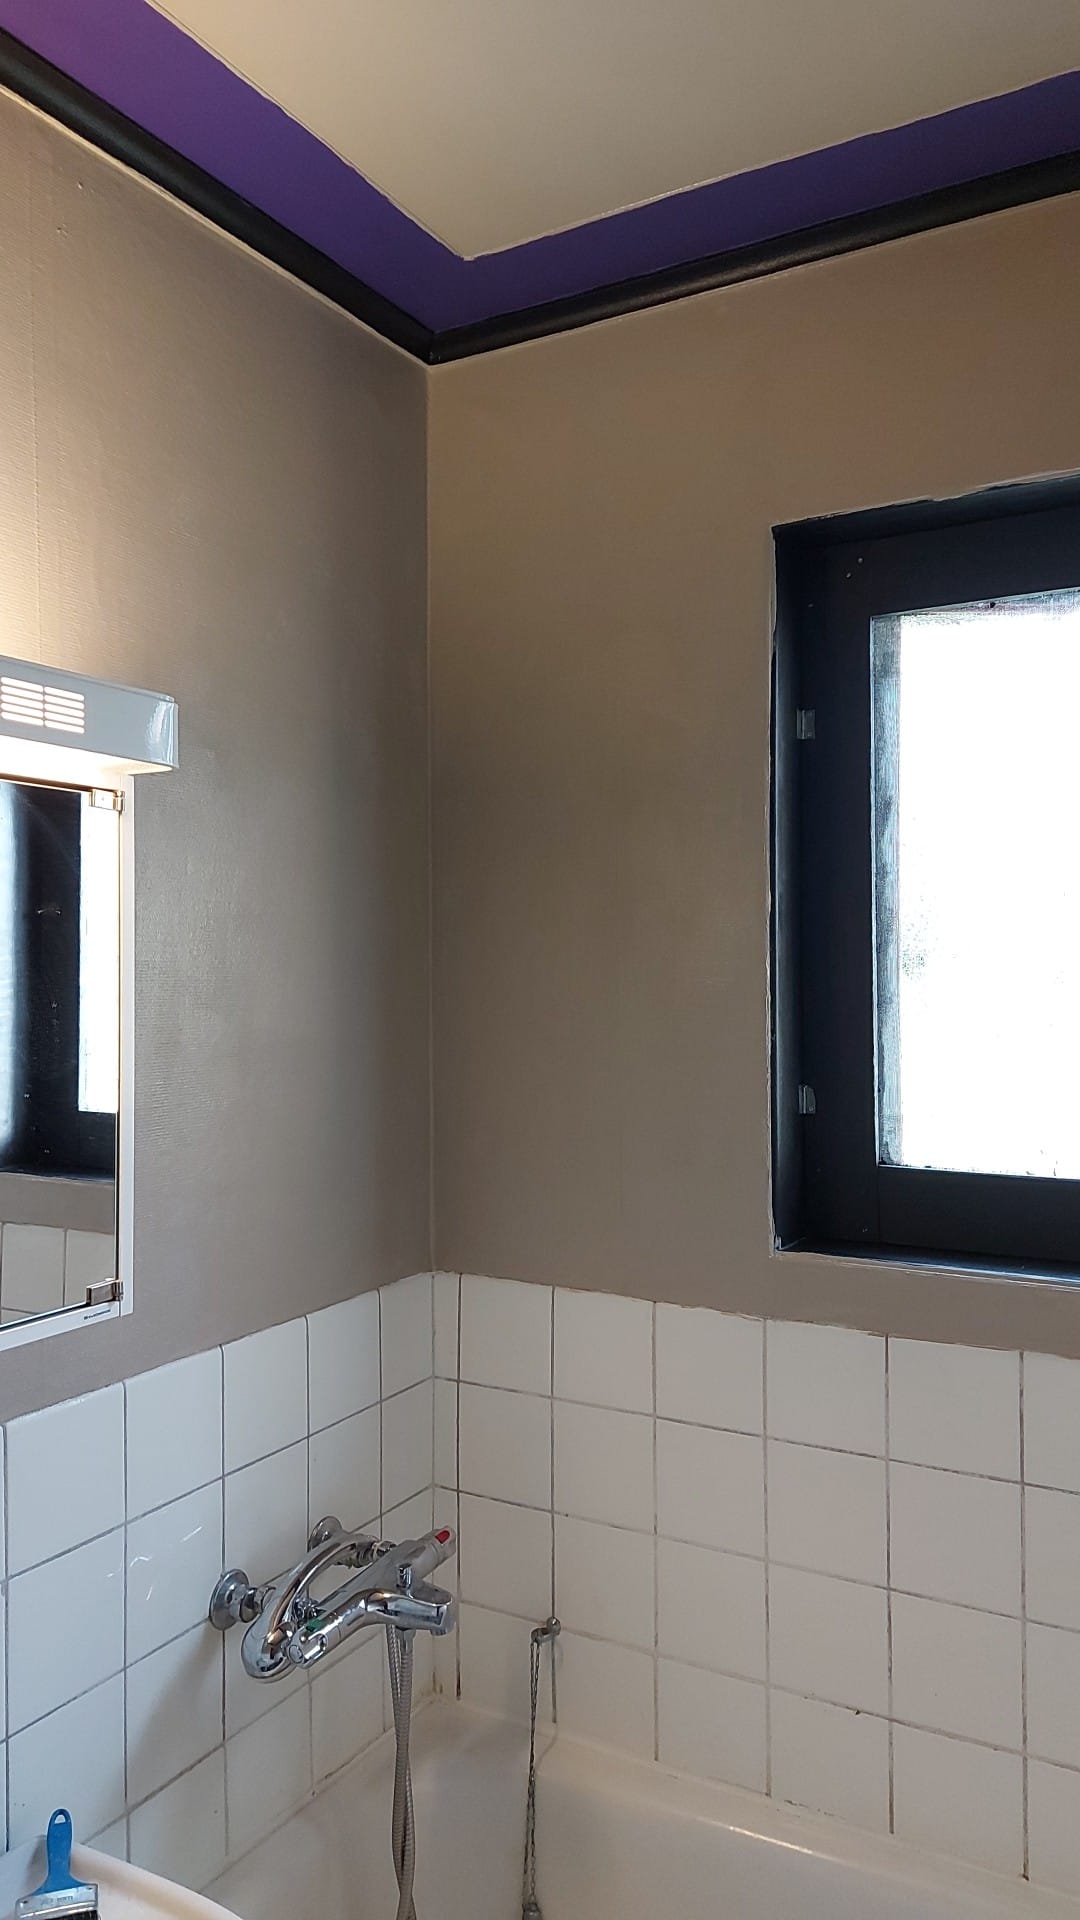
- 2024-08-06 wet-room paint applied
- 2024-08-07 second coat wet-room paint applied
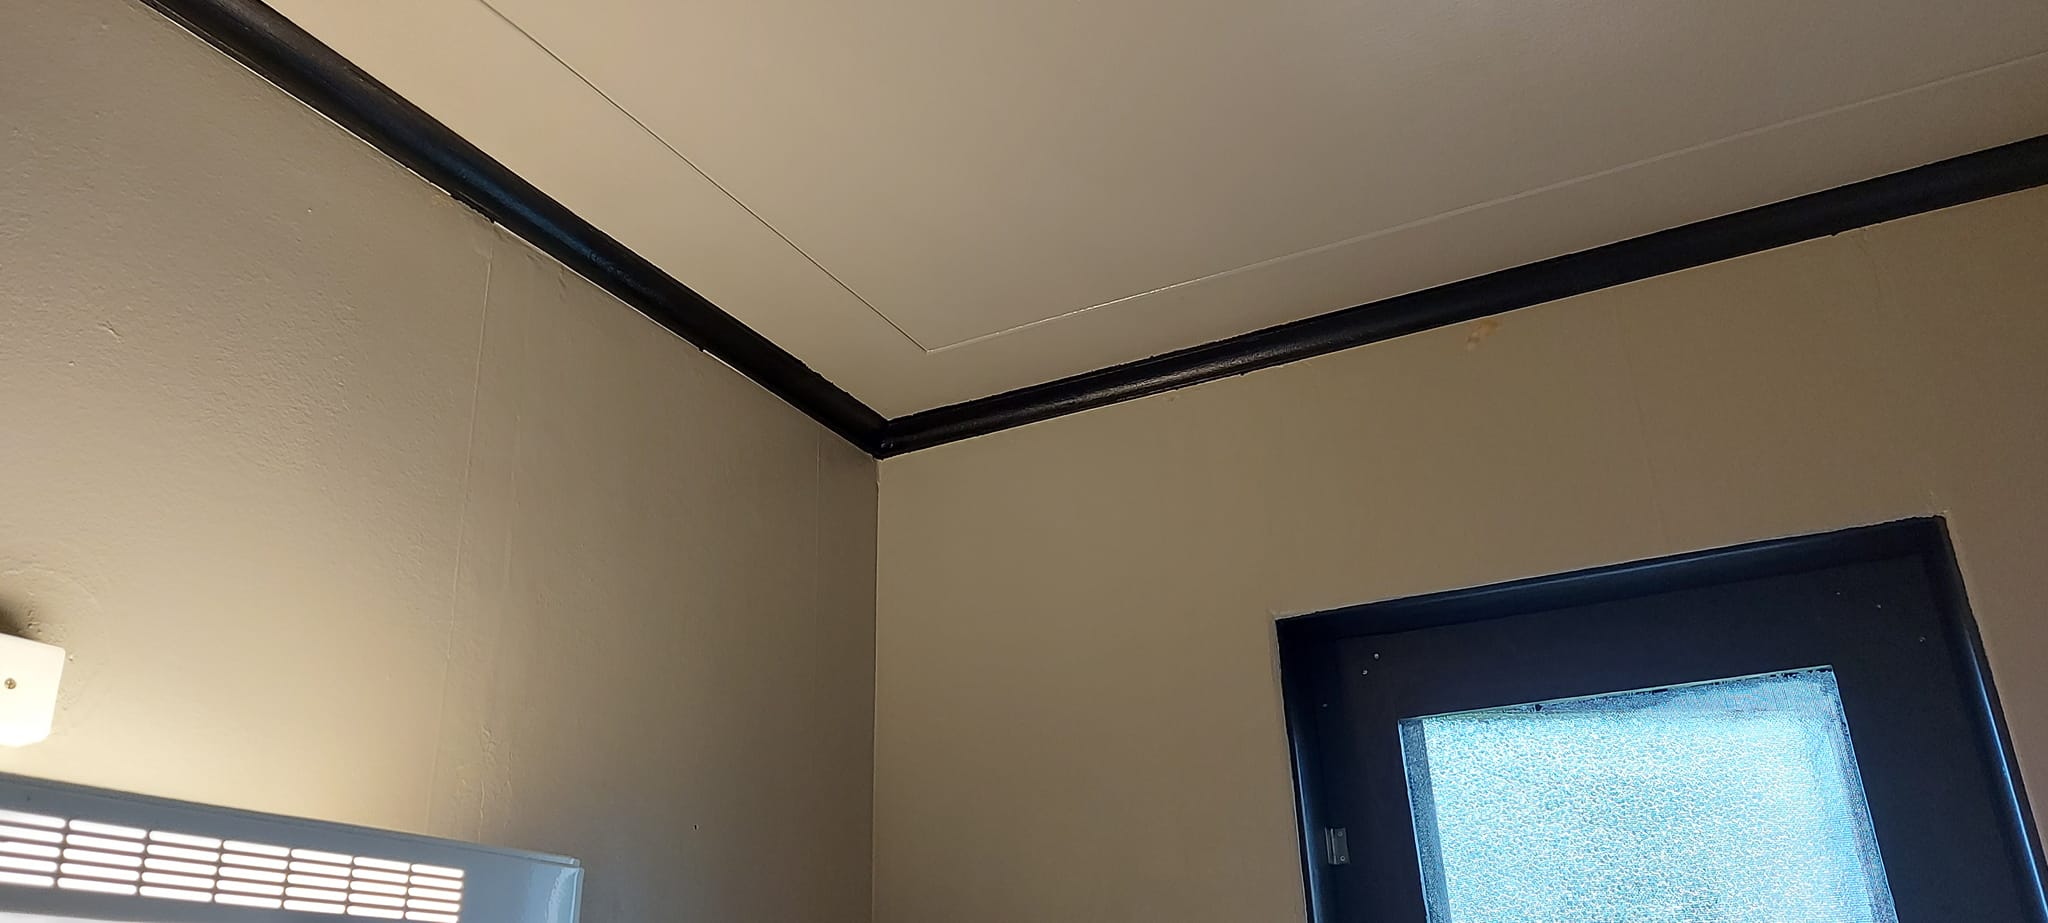
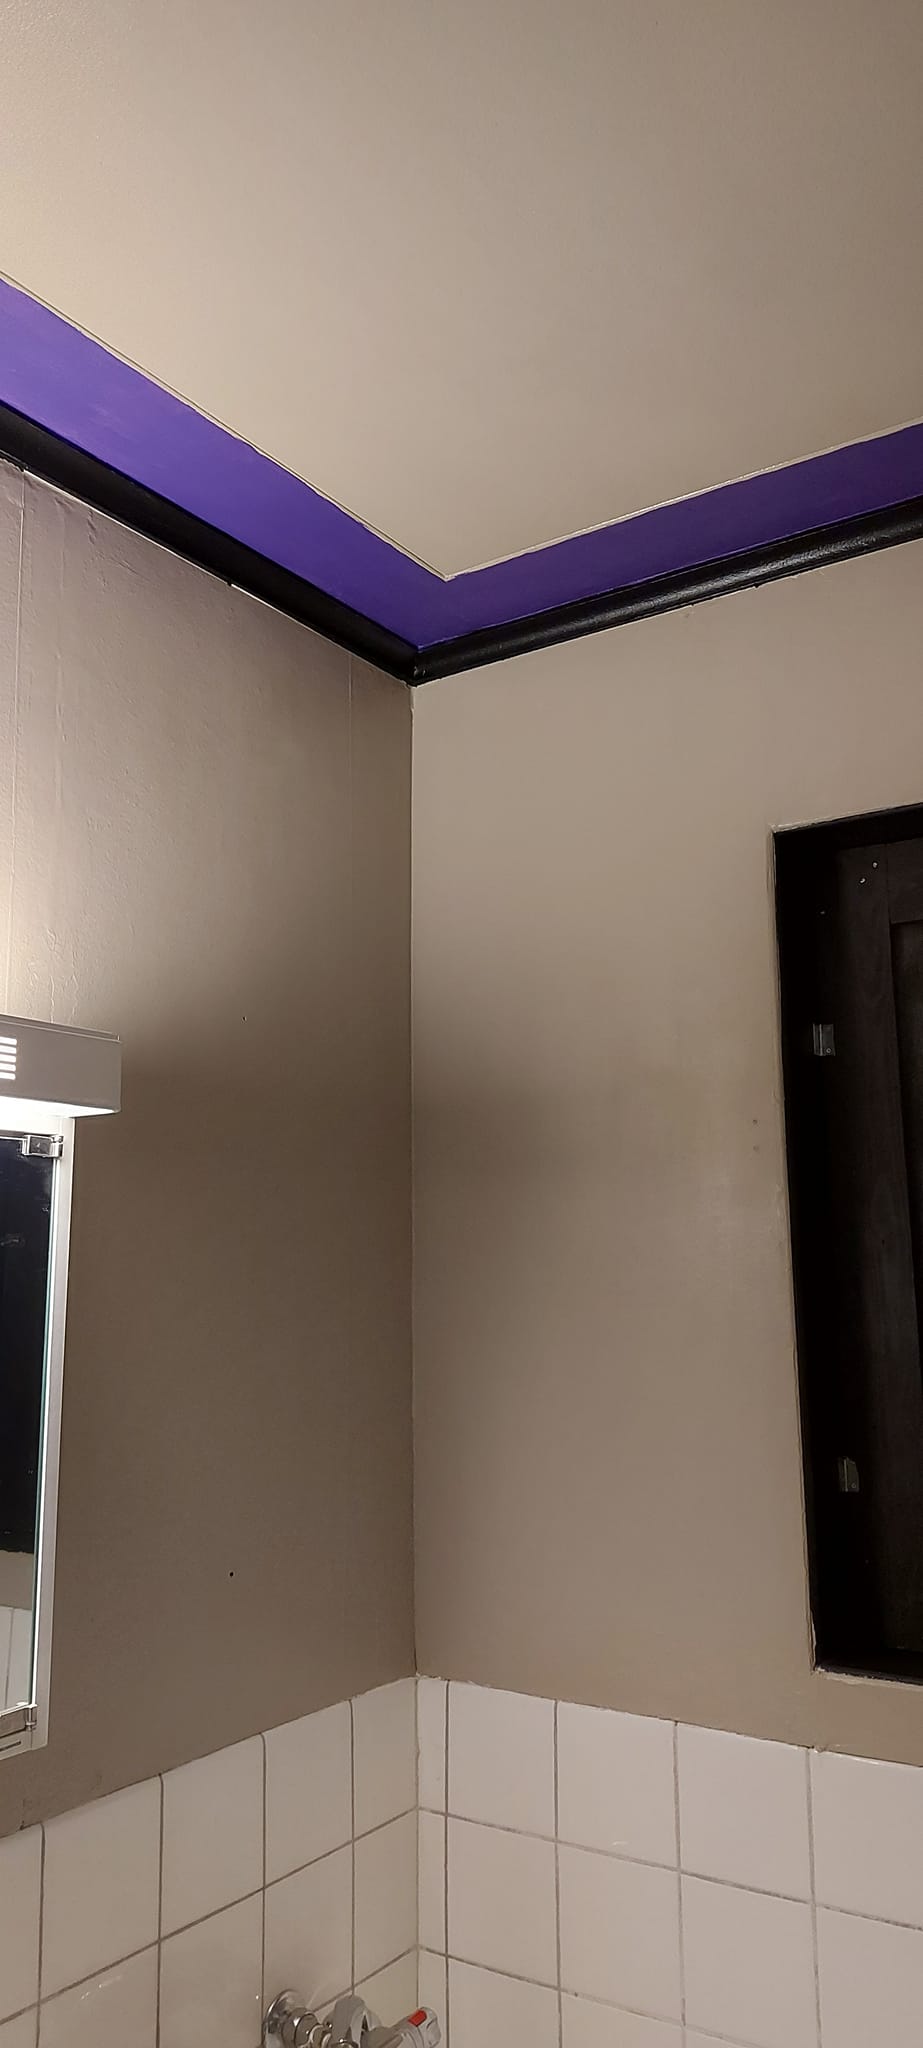
- 2024-08-09 black trim around edge of ceiling
- 2024-08-10 added purple trim
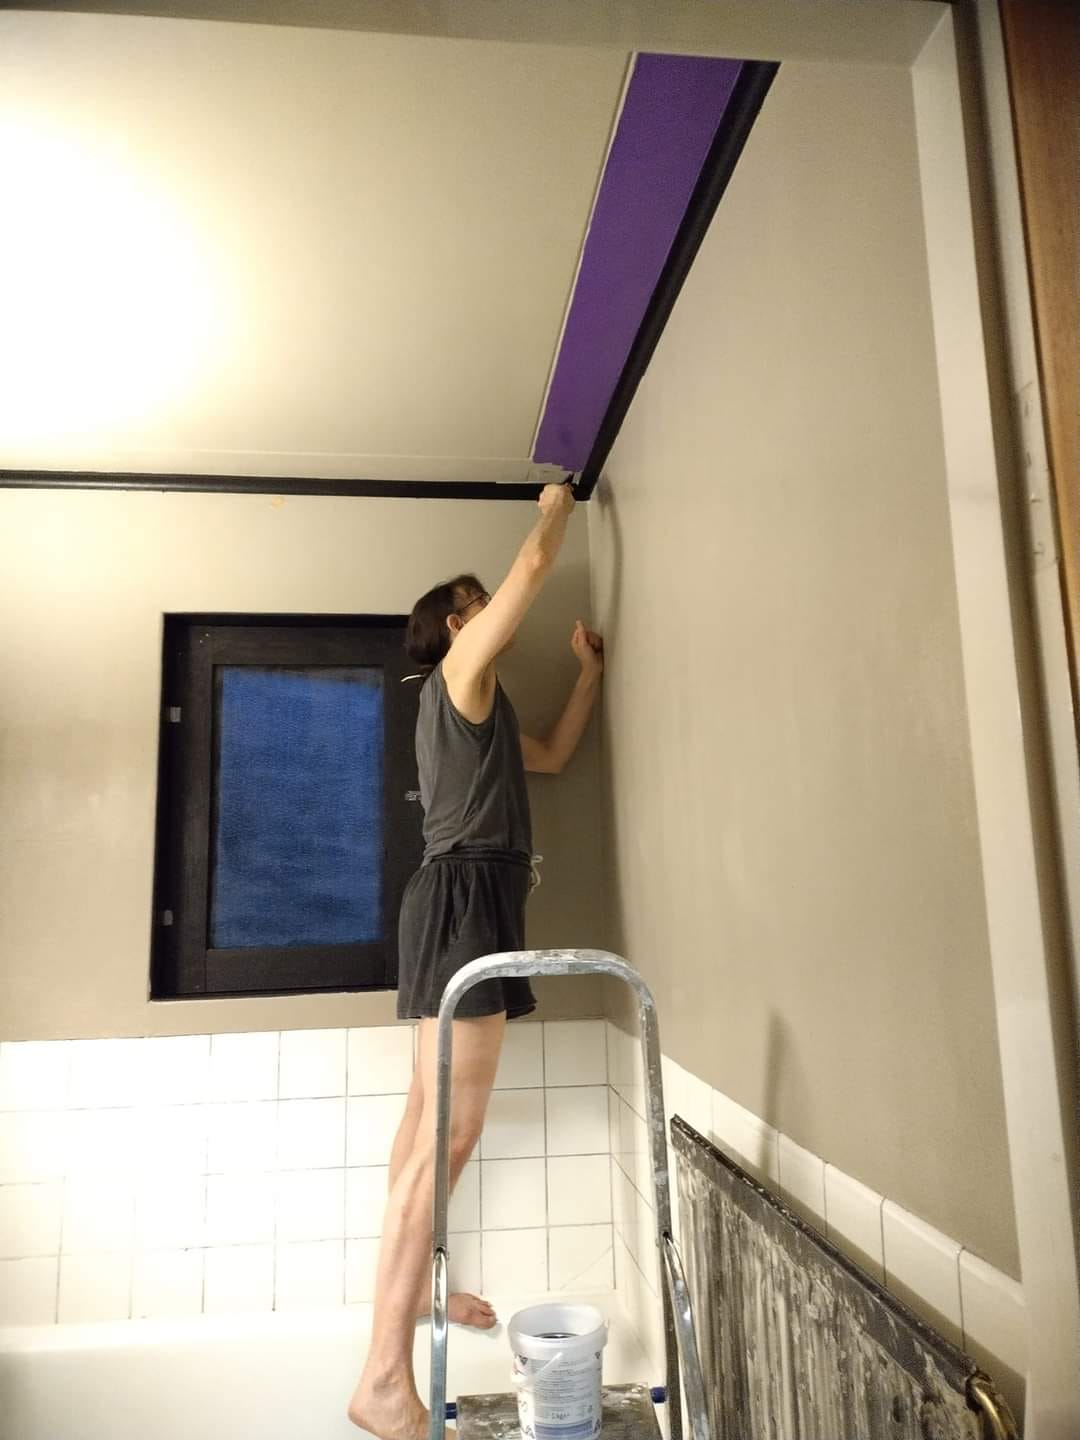
- 2024-08-10 after the trim, we added the fiber glass wet-room wallpaper over the walls, with generous layers of glue over.
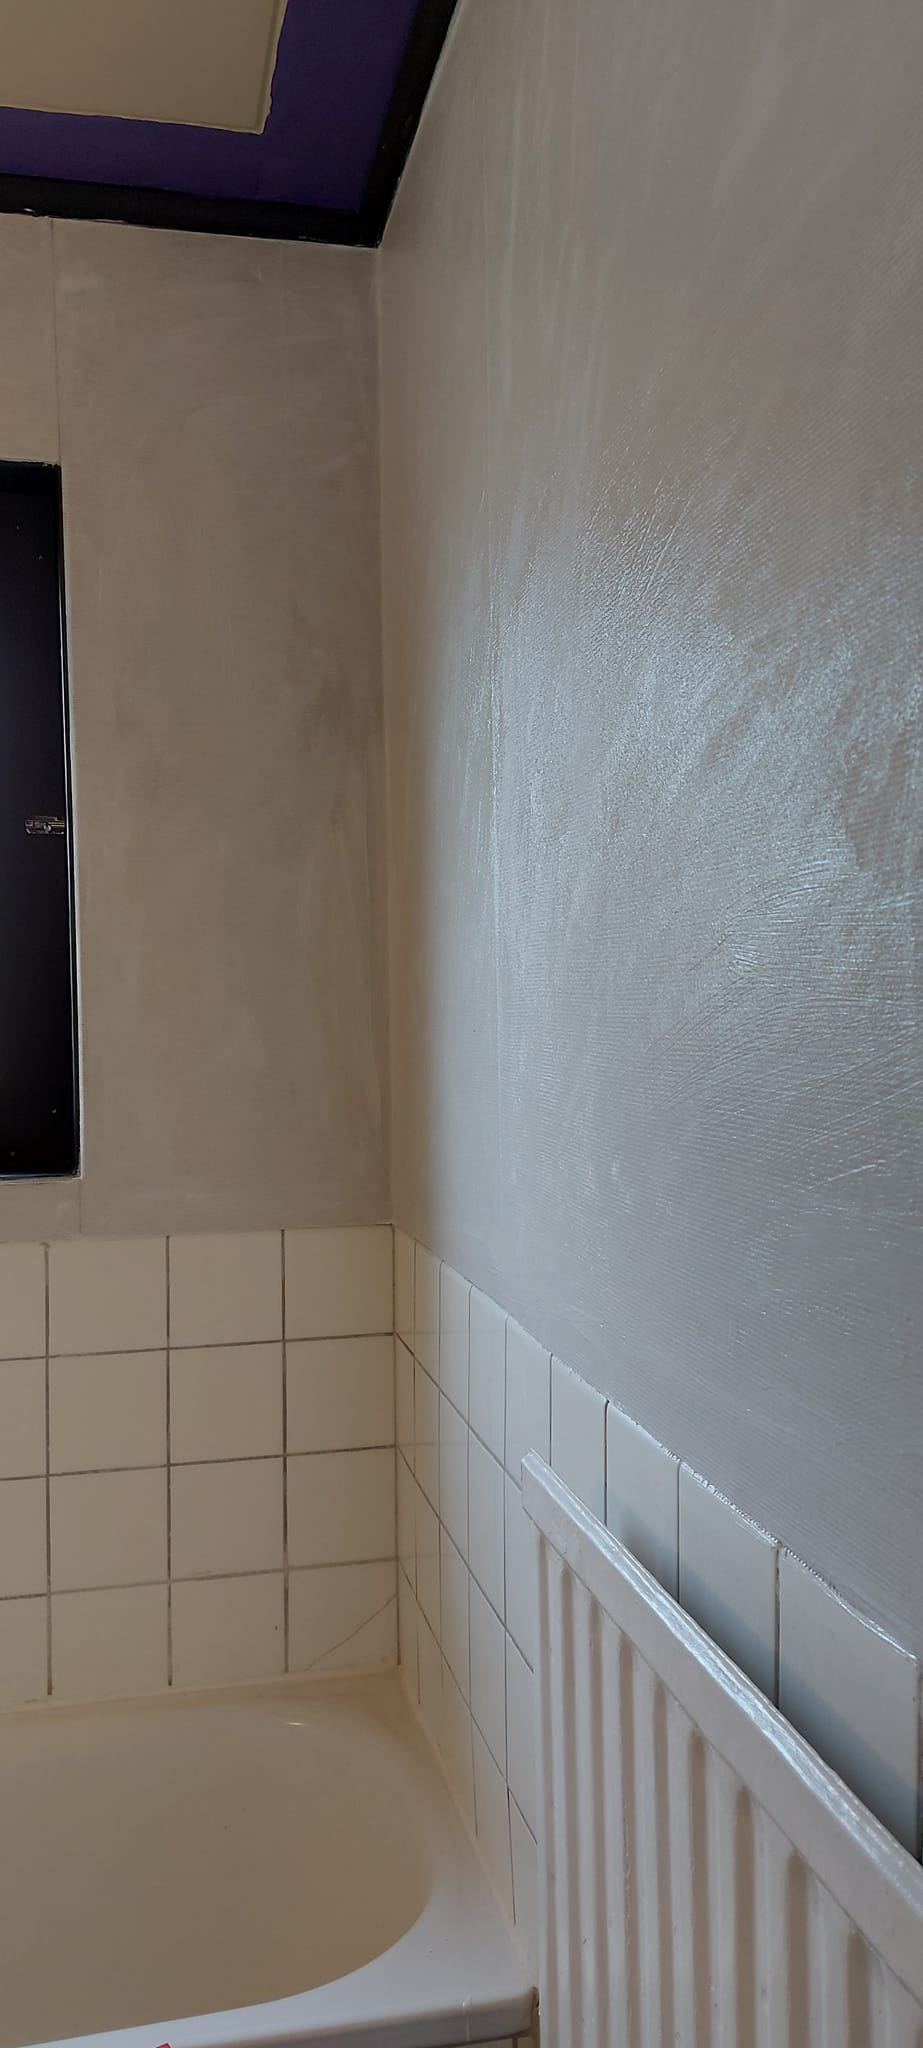
- 2024-08-11 a layer of wet-room primer over the wallpaper
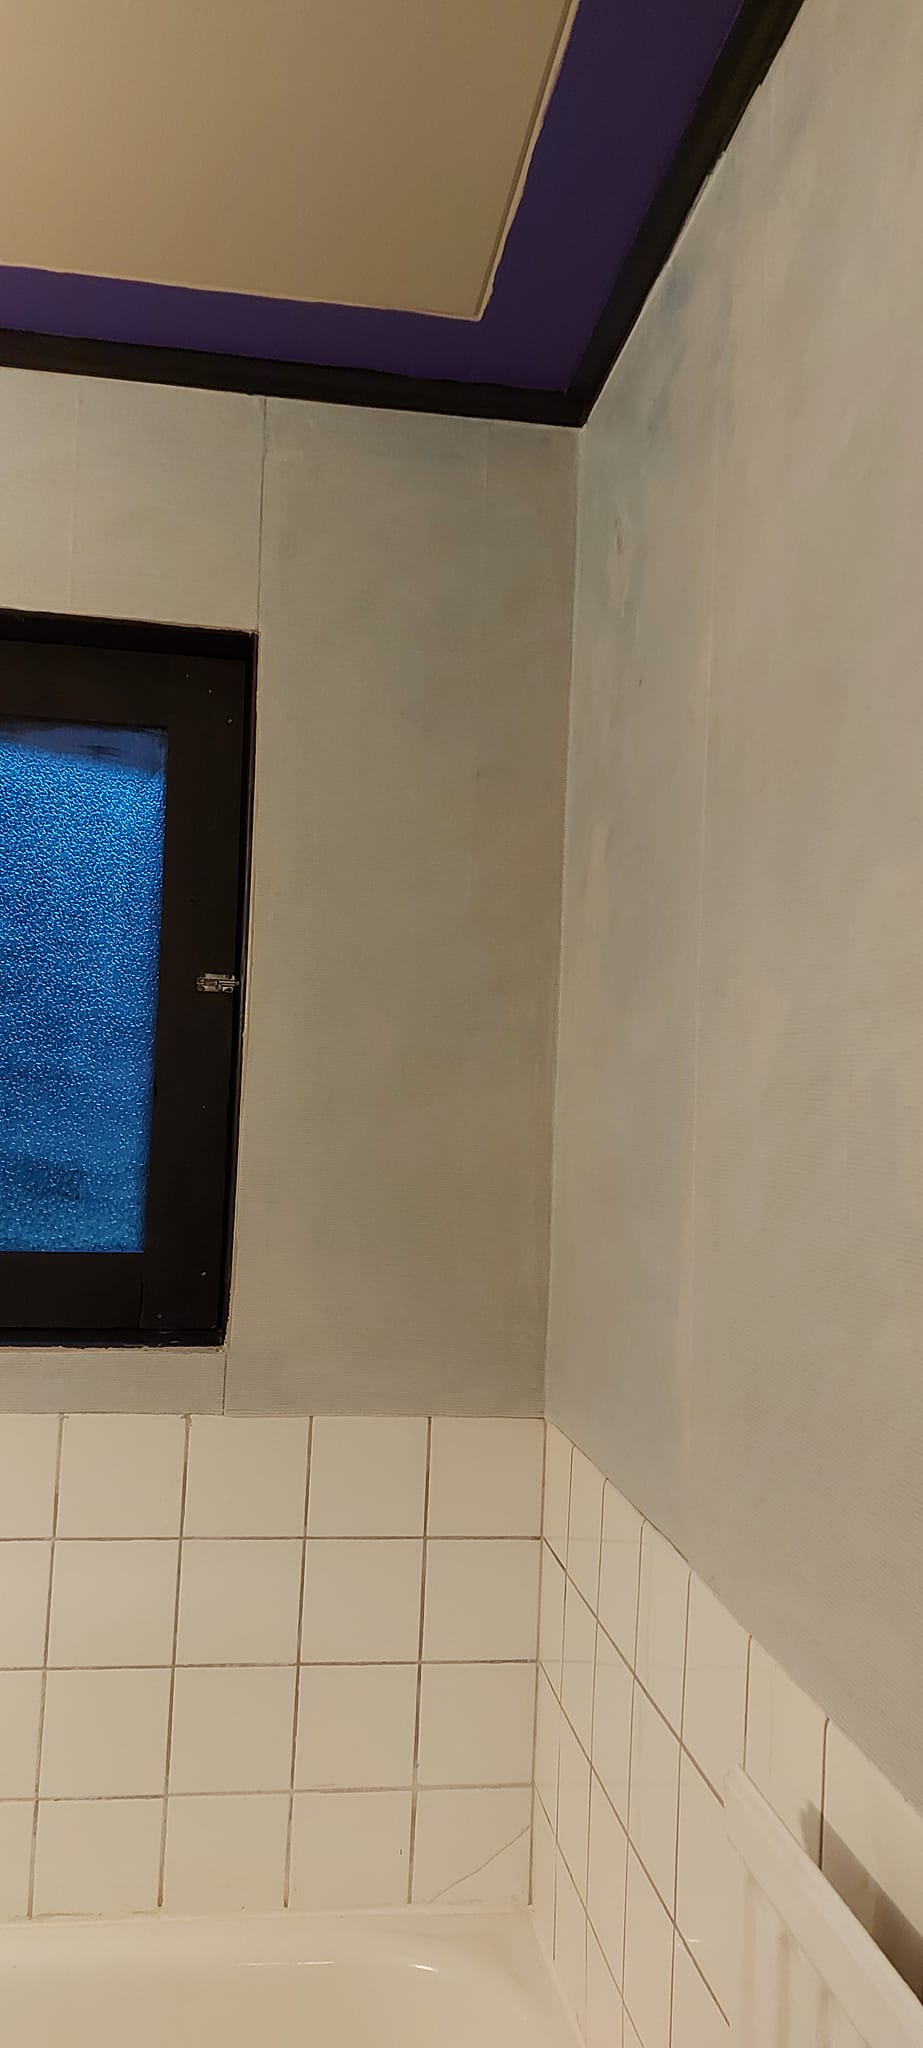
- 2024-08-12 We decided to keep using the wet room paint we got for free, because free. First coat painted. One more and we can put the towel racks and toilet paper holders back up. Seriously looking forward to that part.